How to Fill DOTM Online License Form Without Errors (2026)

Knowing how to fill DOTM online license form fields correctly the first time saves you a rejected application and a wasted trip to the office. Most rejections come down to a name that does not match your citizenship, a wrong number, or the wrong category. This 2026 guide walks you through the form field by field, the upload rules, a final review, and the exact mistakes that get applications thrown out.
Before You Start: What to Keep Ready
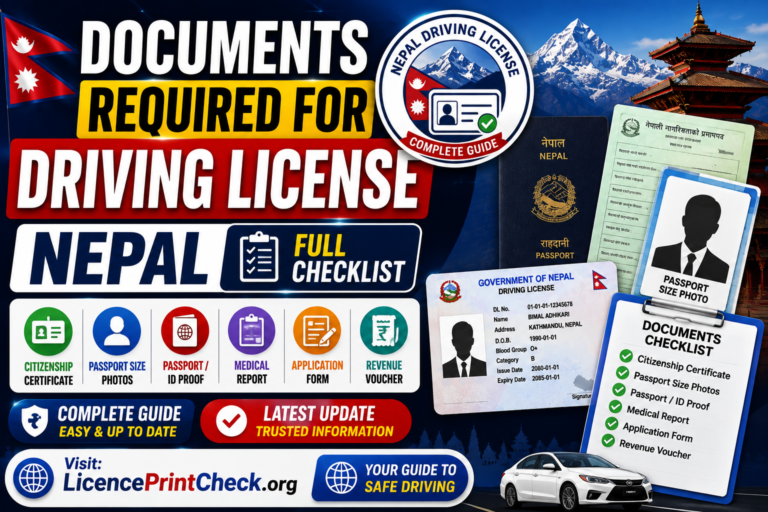
Have these in front of you before you open the form. Every detail you type should be copied straight from your citizenship, not from memory, because the office later checks each field against that same document. Getting set up first means you fill the whole form in one sitting without hunting for a number halfway through.
Field-by-Field Guide
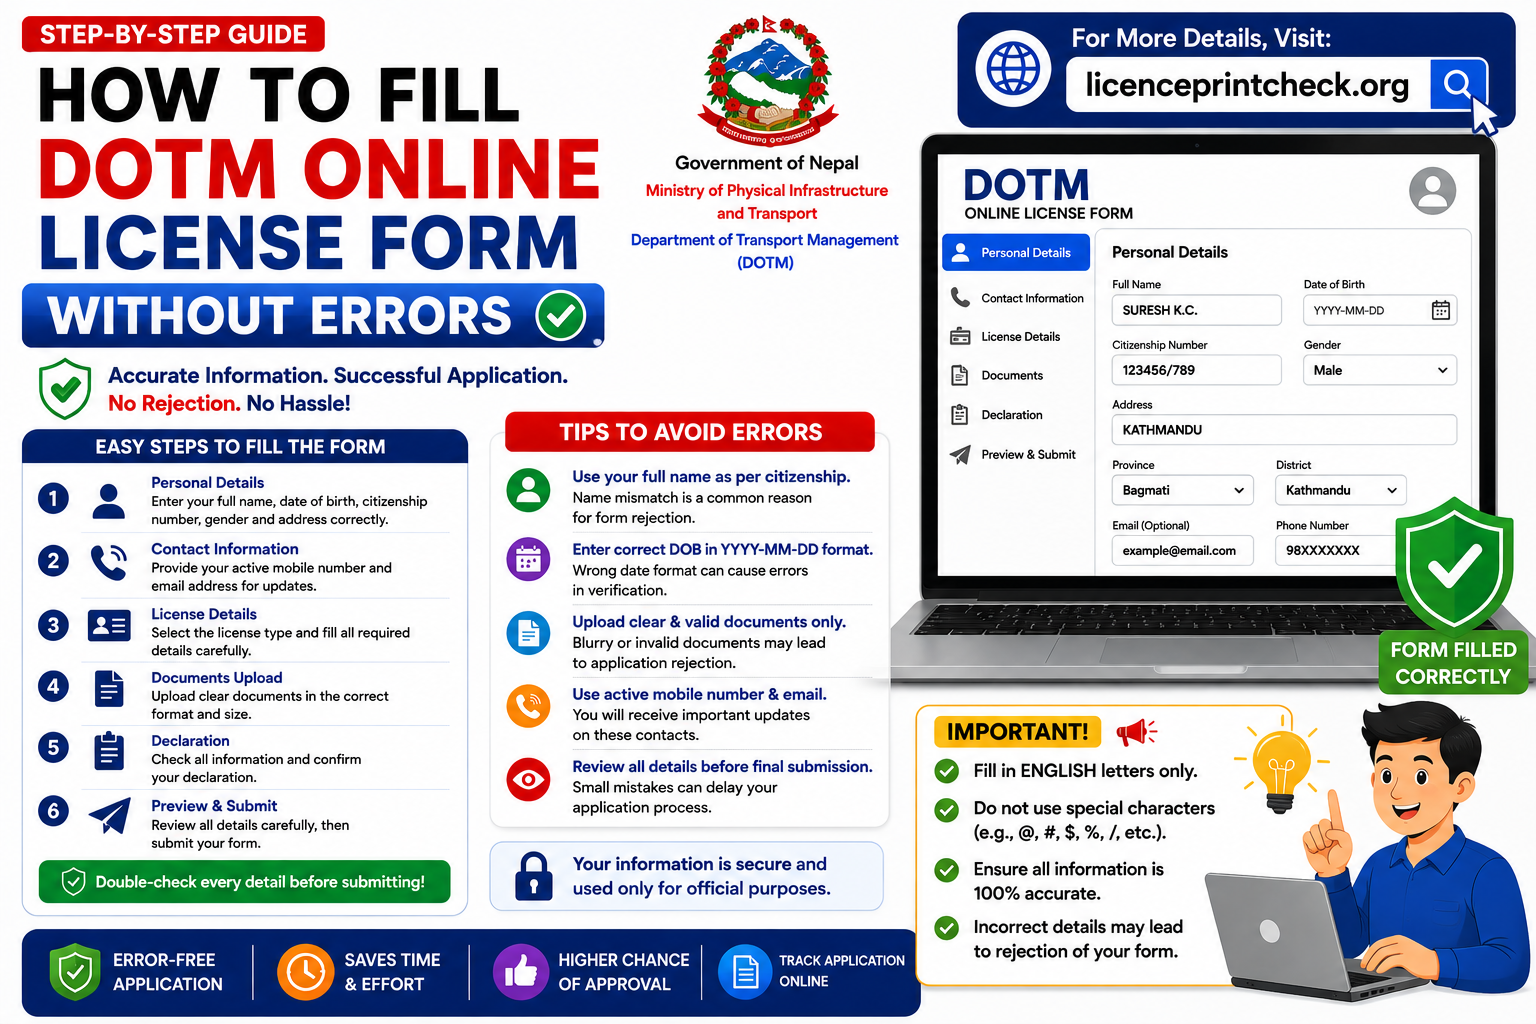
You start at applydlnew.dotm.gov.np, log in with your mobile and OTP, and complete your profile. Here is what each part of the form needs.
The whole application runs in a set order, so it helps to know the sequence before you begin. You log in with your mobile number and verify it with the OTP, complete or update your profile details, then click Apply for a New Driving License. From there you accept the terms, select your licence category, choose your province and transport office, pick an available appointment date, and finally confirm and download your payment voucher. The profile and personal details are where all the care is needed, the later steps are simply selections from dropdowns.
Personal Details (Name in Devanagari & English)
Your name in Devanagari must match your citizenship letter for letter, this is the single most common cause of rejection. Enter the English name the same way it appears elsewhere, and double-check your date of birth against the certificate, noting whether the field wants BS or AD.
Citizenship Details
These three must match your citizenship exactly, since the office verifies them against the original on biometric day. A single wrong digit in the number or a mismatched district can hold up or fail your file.
Address
Enter your permanent address as it appears on your citizenship, and add a temporary address only if the form asks and it differs. Use the dropdowns rather than typing where the form provides them, so the spellings stay standard.
Category & Office Selection
Choose your category carefully, as changing it after submitting is not simple. Select the province and the transport office where you actually plan to sit your exam and biometrics, then pick an available appointment date and confirm.
Once you confirm, the system generates a payment voucher. Pay the fee through the bank or channel the portal lists, keep the receipt safe, and note your appointment date. On that date you attend the transport office in person for your document check, biometrics and exam, and every detail you typed on the form is matched against your original citizenship there. That is exactly why the fields above have to be right, a mismatch spotted on the day means a delay or a repeat visit.
Document Upload Rules (Size / Format)
The online form asks you to upload a couple of documents. Keep them clear, the office rejects blurry or cropped scans.
Recent, plain background, face clear and centred.
Full, legible scan, both sides if asked.
Follow the exact file size and format shown on the upload screen, since the portal states the current limits there. Use a common image format, keep the file under the stated size, and make sure text is readable. Your official smart-card photo and fingerprints are captured separately on biometric day, so this upload is only for the application.
If you do notice a wrong detail after submitting, the portal has a profile-unlock option that lets you correct personal, address, citizenship or passport fields before you continue. It works, but it is slower and fiddlier than simply getting everything right the first time, which is why the review step below matters.
Review Before Submitting
Before you hit confirm, run through this quick check, once submitted, fixing details is far harder than getting them right now.
Common Errors That Cause Rejection
Almost every rejection traces back to one of a handful of avoidable slips. If your application comes back, it is usually one of these, and the fix is simply to correct that field and reapply.
Name does not match citizenship. Check the Devanagari spelling letter by letter; even one wrong character can fail it.
Wrong citizenship number, district or date. Copy them straight off the certificate, do not rely on memory.
Wrong date of birth (BS vs AD). Confirm which calendar the field expects before entering it.
Wrong category or office. Pick the category you actually want and the office where you will test.
Blurry or wrong uploads. Re-scan anything unclear, and upload the correct photo and citizenship.
Form submitted and tests done? Track where your smart card printing has reached in seconds.
Check Print Status →Frequently Asked Questions
Do I fill the form in Nepali or English?
Both. Your name goes in Devanagari matching your citizenship, and also in English. Other fields use dropdowns or numbers.
Do I upload documents online?
Yes, usually a scan of your citizenship and a photo. Your official smart-card photo and fingerprints are taken later on biometric day.
What if I make a mistake after submitting?
You may need to unlock and correct your profile or reapply. Small mismatches can get the application rejected, so it is best to catch them before submitting.
Can I change my licence category later?
Choose carefully, as changing the category after submitting is not straightforward. Confirm it is the one you want before you finish.
Why was my application rejected?
Almost always a mismatch in your name, citizenship details, date of birth, mobile number or category. Fix the exact field and reapply.
Which transport office should I select?
The one where you actually want to take your written exam, trial and biometrics, usually the office nearest you.
What do I do after I confirm the form?
Download the payment voucher, pay the fee through the listed channel, keep the receipt, and attend your appointment for the document check, biometrics and exam.
Conclusion
The DOTM form is not hard, it just punishes small slips. Copy every detail straight from your citizenship, get the Devanagari name exactly right, pick the correct category and office, upload clear files, and review once more before you confirm. Do that, and your application sails through to biometric day without a rejection or a repeat trip.